How to Build a Picnic Table - DIY
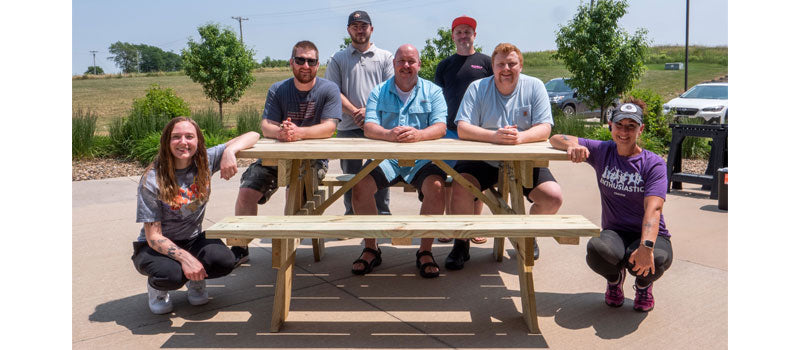
A picnic table is a great solution to creating affordable, functional outdoor seating that will improve any backyard barbecue! The sales team at Fasteners Plus built this wood picnic table for the whole team to enjoy. Continue reading for the instructions on how to build this table in just a few hours.
#1. Materials for DIY Picnic Table
The first step of building a DIY picnic table is gathering all the materials. The lumber you choose will make a large difference in how well it stands up to the outdoor elements. Hardwood and pressure-treated boards are both popular options for this application. Pressure-treated wood is easy to stain, reliable, and affordable. It's important to use the straightest pieces of lumber you can find. A good rule of thumb is to allow about a foot of space for each person at the table. For example, a six-foot table would seat six people.
The materials and tools listed below include everything that is needed to build a picnic table that is 6' long, 30-1/4" tall, and 30-1/2" wide.
Materials:
- (6) 2 x 8 x 8 Boards
- (6) 2 x 6 x 8 Boards
- (3) 2 x 4 x 8 Boards
- 1/4" thick Wood Spacers
- (16) 1/2" x 3-1/2" Galvanized Carriage Bolts with Washers & Nuts
- (1 lb.) 2-1/2" Self-Tapping, Self-Countersinking Exterior Screws
- (1 lb.) 3-1/2" Self-Tapping, Self-Countersinking Exterior Screws
- Wood Glue
- Exterior Stain (Optional)
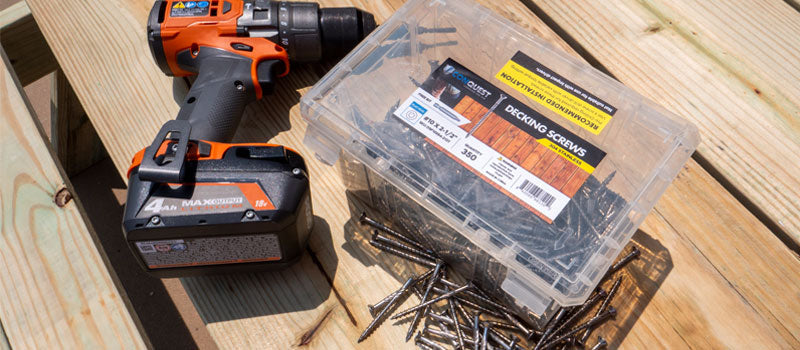
Tools:
- Screw Bits for the Screw Sizes (listed above)
- Power Drill With 1/2" Drill Bit and 1/8" Bit
- Countersink Drill Bit
- Circular Saw
- Miter Saw
- Speed Square
- Framing or Carpenter Square
- 3/4" Wrench
- Clamps
- Tape Measure
- Orbital Sander
- Level
- Impact Driver (Optional)
- Hacksaw Or Angle Grinder with Cutoff Wheel (Optional)
#2. Measure and Cut Picnic Table Pieces
Once you have all the materials and tools ready, the second step is to measure and cut the wood boards.
1. Draw a 30-degree cutting angle at each end of the legs.
2. Position the cut to get the accurate length.
3. Cut each leg at the 30-degree marks with your choice of saw. A table saw, chop saw, or circular saw will get the job done well.
The list below includes the sizes to cut the pieces of wood for the six-foot picnic table.
- (4) Tabletop Slats: 2" x 8" x 72"
- (4) Bench Slats: 2" x 6" x 68"
- (4) Table Legs: 2" x 8" x 37"
- (2) Bench Supports: 2" x 6" x 61"
- (3) Tabletop Supports: 2" x 4" x 28-3/4"
- (2) Upper Leg Braces: 2" x 6" x 30-3/4"
- (2) Angle Braces: 2" x 4" x 24"
- (6) Bench Cleats: 2" x 4" x 10"
#3. Assemble the Picnic Tabletop
Now that you have all the pieces of wood cut to the proper lengths, you are ready to assemble the top of the picnic table.
- Place wood spacers between the tabletop slats and clamp the slats together.
- Set the table supports on the slats. The end table supports should be placed 7" from the edge of the table. Center the middle table supports flat in the center of the table.
- Screw the two outer slats together using a drill.
- Screw both end table supports to the slats with 3-1/2" screws.
- Screw the center table support to the slats with 2-1/2' screws.
#4. Install Table Legs
The next step in installing your picnic table is trimming the legs so they can be accurately attached.
- Mark a point 1-1/2" from the outside edge of the bottom of each leg. Cut the corner.
- Butt a combination square against the end of a leg and draw a line from the point to the outside edge. Cut off the corner.
- Repeat this process for each leg.
- After trimming the legs, they are ready to be placed.
- Clamp the legs to the underside of the table. Then carefully flip the picnic table upside down.
- Clamp the legs to the outside faces of the upper support brace or end table supports.
- Butt together the inside edges of the legs at the gap between the center slates. Ensure they are flush.
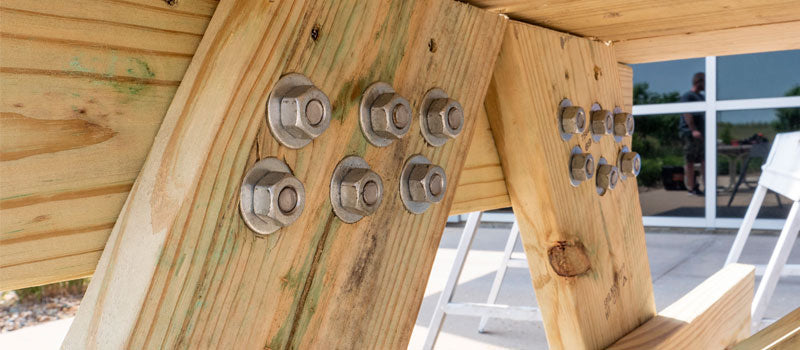
Attaching the legs to the picnic table is made easy using one 3-1/2" carriage bolts per leg. We recommend investing in hot dip carriage bolts. They are corrosion resistant with excellent performance.
- Drill a hole for a washer and nut. The holes should be the same diameters as the bolt shanks.
- Slide each bolt into its hole.
- Add the washer and tighten the nut.
#5. Attach Bench Supports
Bench supports are a crucial part of the picnic table. They provide strength for the seating area and keep the furniture secure. For accurate installation, follow the steps listed below.
- Lay one arm of a square on the tabletop. Use it to mark the position of the bench supports on the legs.
- Measure up 13-1/2" on the other arm. Hold a straightedge across the square. Mark the inside face of the legs.
- Miter-cut both ends of the bench supports to 60-degree angles.
- Drill holes on the outside face of each leg to clamp the bench supports to the legs.
- Clamp the bench supports to the inside of the legs. Align them with the mark on each leg and center them across the table’s width.
- Drill four holes on the outside face of each leg.
- Fasten the bench supports with 3-1/2" carriage bolts.
- If the bolts are protruding, use a hacksaw or angle grinder with a cutoff wheel to trim them down.
#6. Add Angle Braces to the Table
Angle braces serve a specific purpose for picnic tables. They create support for all surfaces and keep the table balanced.
- Mark parallel 45-degree angles on each end of the 2 x 4 braces.
- Use the circular saw to cut the angles.
- To fit the center table support, lay out a right-angled notch at one end of each brace.
- Measure 2-1/4" on the edge of the brace that has just been cut and marked.
- Drill pilot holes on each brace and then drive in the screws.
- Test-fit the braces. Adjust the notch using sandpaper or chisel it until it fits.
- Drill pilot holes at each end.
- Drive in 2-1/2" screws.
#7. Attach Benches
- Separate each pair of bench slats with 1/4" spacers. Clamp each assembly together.
- Cut the two bench cleats to size. Make a 60-degree bevel at each end.
- Place the bench cleats at the center of the bench slats.
- Drill holes on the bench cleats.
- Drive in 2 1/2" screws.
- Screw the bench supports to the benches.

#8. Sand Picnic Table
Once the picnic table has been installed, the next step is to sand all the surfaces. There are several benefits to sanding a picnic table. Sanding creates a smooth surface and provides an overall improved appearance. It is also much easier to stain a picnic table once it has been sanded. A hand or belt sander are both popular options to achieve great results.